

Essential Tips for Choosing the Best Radon Test Kit
Radon testing kits help homeowners check whether invisible radon gas is building up indoors, especially in lower levels of the home. Because radon cannot be seen or smelled, a properly used radon test kit
is the practical first step toward understanding your home’s risk and deciding whether follow-up testing or mitigation is needed. This guide explains how kits work, how to choose the best radon test for your situation, and what to do after results come back.
What does a radon test kit actually tell you?
A radon test kit measures the amount of radon gas present in your indoor air during the testing period. The result is typically reported in picocuries per liter of air, often written as pCi/L, and it helps you decide whether the level is low, elevated, or high enough to require action. Public health agencies emphasize that testing is the only reliable way to know whether a home has high radon levels, since the gas has no smell, color, or immediate warning sign. (cdc.gov)
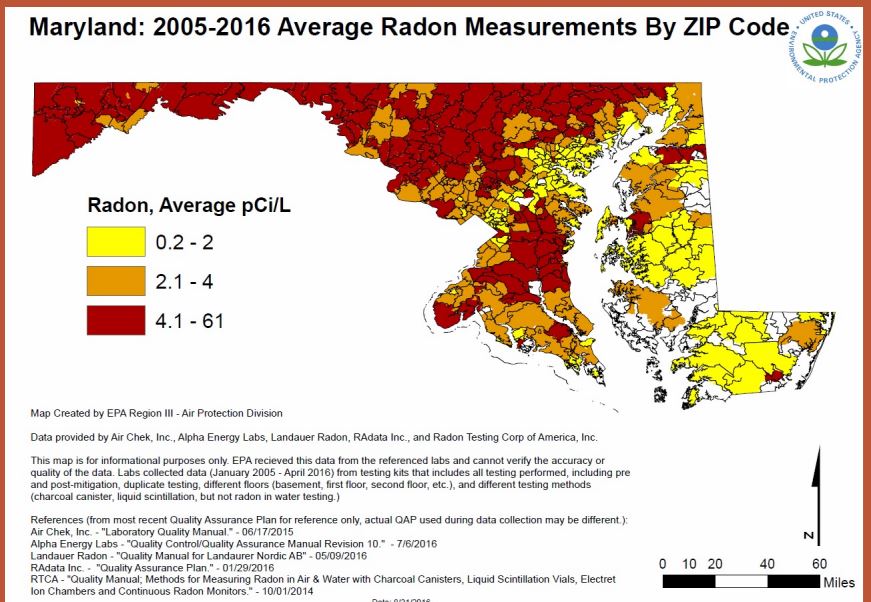
Radon can enter homes through soil, foundation openings, gaps, cracks, drains, and other pathways. It is not limited to old houses, basements, or one specific region, so a home’s appearance is not a dependable indicator of risk. Even neighboring houses can produce different readings because soil conditions, foundation design, ventilation, and daily living patterns vary.
A kit does not “fix” radon, and a single short test does not always describe your year-round average. What it does provide is a measurable starting point. If the number is elevated, you can confirm it with another test and then consider a radon reduction system installed by a qualified professional.
Common types of radon testing kits
Most homeowners choose between short-term and long-term testing. Both options can be useful, but they answer slightly different questions. A short-term radon air test kit is designed for quicker feedback, while a long-term kit gives a broader picture of average conditions over time.
| Kit type | Typical testing period | Best use | Practical takeaway |
|---|---|---|---|
| Short-term kit | 2 to 90 days | Quick screening, real estate timelines, first-time testing | Useful when you need results soon, but elevated results usually deserve confirmation. |
| Long-term kit | More than 90 days | Understanding seasonal and lifestyle patterns | Better for estimating a home’s year-round average radon level. |
| Digital monitor | Varies by device | Ongoing tracking and trend awareness | Convenient, but instructions and calibration details matter. |
| Professional test | Varies by method | Buying, selling, or complex situations | Helpful when documentation, placement, and protocol are important. |
The CDC describes two general kit categories: short-term kits that measure radon for 2–90 days and long-term kits that remain in place for more than 90 days. Long-term testing is more representative of year-round conditions, while short-term testing produces faster results. (cdc.gov)
A DIY radon test kit is usually simple to use: you place the device in the recommended location, leave it undisturbed for the required time, and then send it to the listed lab or read the result according to the product instructions. Some kits include lab analysis in the purchase price; others may require a separate fee. Always check what is included before you buy.
Which kit is best for your home?
The best home radon test kit is the one that matches your reason for testing, your timeline, and your ability to follow the instructions exactly. If you have never tested before, a short-term kit is often a practical starting point; if you want a more complete picture, a long-term kit is usually more informative. If you are buying or selling a home, consider using a qualified tester because proper protocol and documentation can matter. The CDC notes that EPA recommends hiring a qualified tester in real estate transactions. (cdc.gov)
For many households, the best radon test kit is not the most expensive one. It is the one that is approved or recognized by an appropriate program, includes clear instructions, fits your testing window, and has a straightforward results process. If you are comparing products online, look beyond star ratings and read the details carefully.
Use this checklist when choosing a radon gas kit test:
- Testing length: Choose short-term for speed or long-term for a better average.
- Lab process: Confirm whether analysis and return postage are included.
- Instructions: Look for clear placement rules and easy-to-follow timing requirements.
- Certification or approval: Check whether the kit is listed by a recognized radon program or recommended through your state radon office.
- Result format: Make sure you will receive a clear reading, not just a vague pass/fail message.
- Home situation: Use extra care if testing during a home sale, after renovations, or before converting a basement into living space.
State radon offices may offer guidance and, in some cases, free or discounted kits. The CDC also notes that kits can be purchased online or in many retail and hardware stores. (cdc.gov)
How to use a DIY radon test kit correctly
A reliable result depends on careful setup. Radon testing is simple, but it is not something to improvise. Small mistakes, such as placing the kit next to a window, moving it during the test, or ending the test too early, can make the reading less useful.
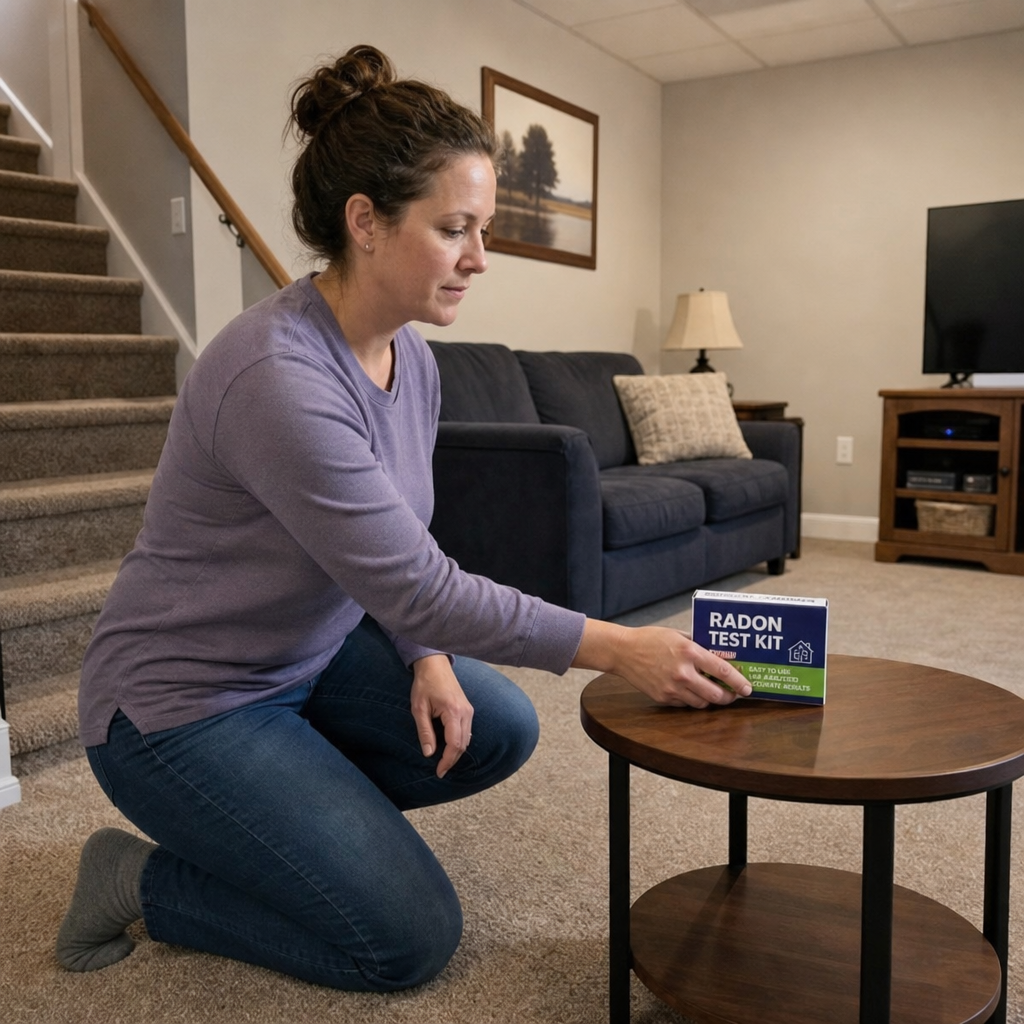
Start by reading every instruction before opening the kit. Then choose the lowest lived-in level of the home, such as a basement family room, lower-level bedroom, or first-floor living area if the basement is not used. The CDC advises placing the device in the basement or lowest level, raised off the ground and toward the middle of the room, and leaving it in place for the instructed amount of time. (cdc.gov)
Here is a practical setup routine:
- Pick the right room. Use a regularly occupied lower-level space rather than a kitchen, bathroom, laundry room, or drafty utility area unless the instructions say otherwise.
- Place the kit carefully. Keep it away from windows, doors, vents, fireplaces, high humidity, and direct sunlight.
- Maintain normal conditions. Follow the kit’s rules about closed-house conditions, heating, cooling, and ventilation.
- Do not disturb it. Avoid moving, covering, or inspecting the device during the test period.
- End the test on time. Record the required start and stop information accurately.
- Send it promptly. If lab analysis is required, mail the kit as directed so the sample can be processed correctly.
If you are using a digital radon air test kit, the principle is similar: placement, timing, and manufacturer instructions still matter. Digital readings can be convenient because they may show trends, but they should not be treated as a substitute for proper testing protocol when documentation is needed.
Interpreting your radon test results
Results are only useful if you know what action they suggest. EPA recommends taking action to reduce radon when a home’s level is 4 pCi/L or higher, and EPA materials also say homeowners may want to consider fixing levels between 2 and 4 pCi/L. (epa.gov)
If your first short-term result is elevated, do not panic, but do not ignore it either. Radon levels can vary from day to day and season to season, so a follow-up test helps confirm what is happening. EPA guidance says that one long-term test result or the average of two short-term tests can be used when deciding whether mitigation is recommended at or above 4 pCi/L. (epa.gov)
Think of your result in three practical categories:
- Lower result: Keep the report, retest in the future, and retest after major renovations or changes in how you use the lower level.
- Borderline or moderate result: Consider a long-term test for a more representative average, especially if people spend time in the tested area.
- Elevated result: Confirm with follow-up testing and speak with a qualified radon mitigation professional if results remain high.
The important point is that a radon test is not a one-time home maintenance trophy. Conditions can change after foundation work, HVAC updates, insulation changes, or basement finishing. If a lower level becomes a bedroom, office, playroom, or rental space, testing again is a smart step.
When professional testing makes sense
A DIY radon test kit works well for many homeowners, but there are situations where professional testing is the stronger choice. Real estate transactions are the clearest example because buyers, sellers, agents, and lenders may need confidence that the test was placed, monitored, and documented correctly. Professional testing can also help if previous results were inconsistent or if your home has unusual foundation features.
You may want professional help if:
- You are buying or selling a home.
- A previous radon test kit showed elevated results.
- You need third-party documentation.
- The home has a finished basement or lower-level bedroom.
- You already have a mitigation system and want to verify performance.
- You are unsure where a test should be placed.
Professional testers can also explain local conditions and common mitigation approaches. That does not mean every homeowner must start with a professional. It simply means the context matters. For routine awareness, a well-used DIY kit may be enough; for decisions involving money, health, or property negotiations, professional support can reduce uncertainty.
Smart habits after testing
Once you have results, save them with your home records. Include the date, kit type, room tested, testing duration, and any follow-up actions. If you later sell the home, finish the basement, or install a mitigation system, that information can be useful.
It is also wise to test more than once over the life of a home. The CDC recommends testing when levels are unknown, before buying or selling, before and after renovations, and before lifestyle changes that lead someone to spend more time in a basement or lower level. (cdc.gov)
A good radon routine is simple: test, confirm if needed, mitigate if levels remain elevated, and retest afterward. This turns radon from an invisible worry into a manageable home maintenance issue.
Key takeaway
The best radon test is the one you will use correctly and follow up on responsibly. A short-term kit can give you fast insight, a long-term kit can show a more realistic average, and professional testing can add confidence when decisions are more serious. Whether you choose a basic radon test kit, a digital monitor, or a professional service, the goal is the same: understand your indoor air and take practical action when the results call for it.